
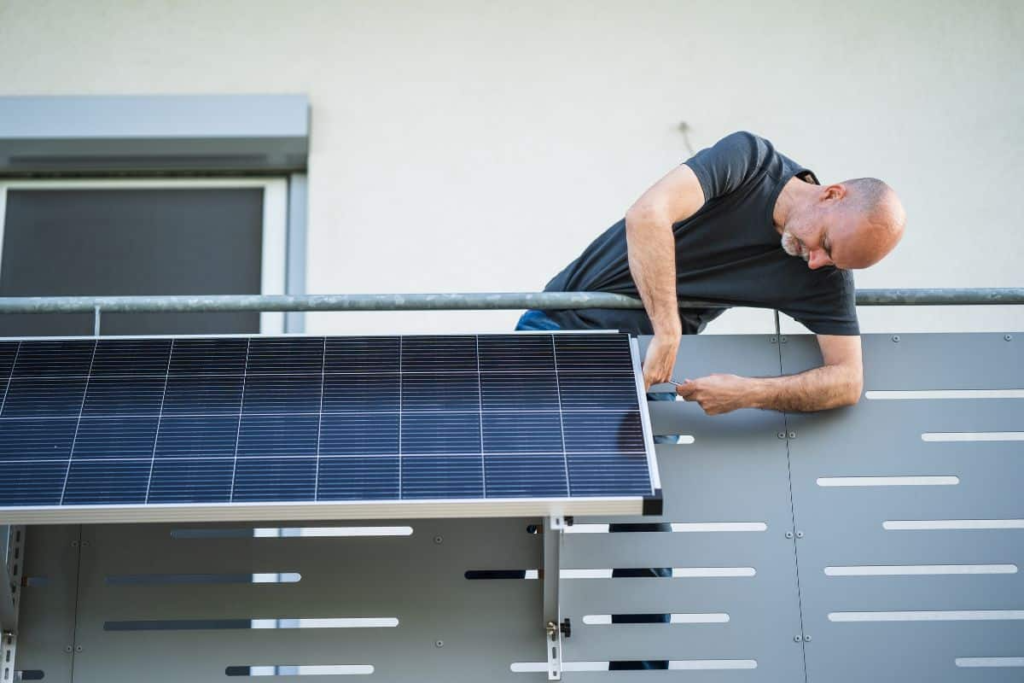
Installing a solar energy system isn’t just about placing panels on a roof or ground. It’s a long-term investment, and how you mount those panels can make or break the entire system. Poor mounting practices may lead to system inefficiencies, safety risks, or early structural failures.
So, how can you optimize your solar mounting projects for performance, durability, and peace of mind?
Let’s dive into a collection of expert-backed tips designed to help installers, project managers, and engineers get it right from the start.
How to Choose the Right Mounting System
The foundation of a solid PV installation starts with the correct type of mounting system. Your project’s location, size, and structural surface will determine the best fit.
Factors to Consider:
- Installation Site: Roof (tile, metal, flat), ground, or integrated (BIPV)
- Environmental Conditions: Wind load, snow load, coastal humidity, temperature swings
- System Size and Budget: Residential vs. utility-scale systems
- Material Choice: Anodized aluminum for lightweight corrosion resistance; stainless steel for extreme durability
Have you evaluated how your local environment might impact long-term performance?
For instance, anodized aluminum performs well in humid areas, but marine-grade stainless steel is better near the sea.
What to Know About Rail Spacing and Structural Load
Improper rail spacing leads to uneven load distribution, panel flexing, and eventual system failure, especially under snow or wind pressure. Manufacturers usually provide recommended spacing, but environmental conditions may require adjustments.
Recommended Rail Spacing:
| Installation Type | Recommended Rail Spacing (mm) |
| Tile Roof | 900–1100 mm |
| Metal Roof | 1100–1300 mm |
| Ground Mount | 1200–1500 mm |
Tip: Always factor in regional weather, especially wind uplift on rooftops or snow accumulation in colder climates.
Have you cross-checked your rail spacing against local wind and snow load maps?
How to Select the Right Fasteners and Anchors
Fasteners might be small, but they play a massive role in holding the entire structure together. Inadequate or non-certified fasteners can lead to system instability, corrosion, or even safety hazards.
Best Practices:
- Use stainless steel (preferably 304 or 316 grade)
- Match fasteners to the mounting surface:
- Concrete: Wedge or sleeve anchors
- Wood: Lag screws
- Metal: EPDM-sealed self-tapping screws
- Check certifications (ISO, CE, or UL-listed)
- Follow the manufacturer’s torque guidelines to prevent cracking or stripping
Real-World Example:
A project in Malaysia failed after only two years because zinc-plated fasteners corroded in the tropical climate. The correction? Switching to stainless steel with EPDM washers for long-term performance.
What to Consider for Thermal Expansion
Solar mounting rails—especially long aluminum ones—expand and contract with temperature shifts. Over time, this movement can loosen bolts, misalign modules, and strain brackets.
Expansion Gap Reference:
| Rail Length | Material | Expansion Gap |
| ≤ 3 meters | Anodized Aluminum | 5–10 mm |
| > 3 meters | Anodized Aluminum | 10–15 mm |
Installation Tip: Use sliding joints or rail connectors with built-in flexibility to absorb expansion. Always leave a buffer—don’t jam rails tightly together.
Have you calculated your expansion needs based on climate conditions and rail material?
How to Ensure Waterproofing on Rooftop Projects
Waterproofing is one of the most overlooked—yet critical—steps in solar mounting. A single leaky penetration can compromise insulation, cause ceiling damage, and void building warranties.
Recommended Waterproofing Techniques:
- Use flashing kits with matching roof profiles
- Apply sealant (silicone or butyl) around all penetrations
- Use rubber gaskets under all metal-to-roof contact points
- For metal roofs, choose EPDM-coated screws with sealing washers
Case Study:
In a commercial install on a metal roof, leaks appeared six months post-installation due to poor sealing. Switching to pre-washed stainless self-tapping screws with butyl tape eliminated the issue permanently.
Are your rooftop penetrations sealed to withstand 20 years of rain, snow, and thermal movement?
What to Do About Electrical Grounding
Electrical grounding is essential for system safety and code compliance. It protects users, maintenance personnel, and the PV system itself from electrical surges and faults.
Grounding Checklist:
- Bond all conductive components (rails, module frames, combiner boxes)
- Use UL-listed grounding lugs or clips
- Ensure continuity across rail sections using bonding jumpers
- Test all connections with a multimeter before commissioning
- Follow NEC 690.43 or equivalent local codes
Have you verified your entire array is grounded as a single conductive body?
This is not just about compliance—it’s about safety for years to come.
How to Perform a Final Pre-Commissioning Check
Before turning the system on, a detailed inspection ensures nothing is missed. It’s your last chance to catch installation errors that could cost time or money later.
Final Checklist:
- All bolts are tightened to torque specifications
- Rail spacing and alignment verified
- Waterproof seals are fully applied and intact
- Grounding continuity confirmed
- Wires routed, strain-relieved, and protected from abrasion
- Panels are locked securely with clamps or clips
What would a future maintenance team think if they reviewed your work today?
Bonus Tips to Maximize Mounting Longevity
Even after installation, certain practices can increase long-term system performance.
Post-Installation Maintenance:
- Schedule annual inspections for corrosion, loose fasteners, or water ingress
- Monitor thermal expansion points for rail movement
- Check for roof membrane wear beneath mounting feet
- Clear leaves or debris that may trap moisture or block airflow
Conclusion: Building Smarter from the Start
Optimizing your solar mounting system isn’t just about ticking boxes—it’s about investing in reliability, safety, and long-term performance. By selecting the right components, spacing correctly, sealing properly, and grounding effectively, you can avoid costly issues and deliver high-performing PV systems your clients will trust.
So, whether you’re a project manager overseeing a 1 MW rooftop installation or a contractor handling residential arrays, ask yourself:
Have I optimized every layer of this mounting project?
About us
Suzhou Bilateral Import & Export Co., Ltd. is a trusted manufacturer of stainless steel fasteners and solar mounting accessories, with over 17 years of industry experience. Backed by a 12,000㎡ factory and ISO-certified quality systems, we deliver over 5 million parts monthly to clients across Europe, South America, and beyond.
We guarantee that our products comply with the following:
- High-Quality Materials: Certified premium materials ensure 30+ years of maintenance-free service life.
- Typhoon Resistance: Wind tunnel tested, withstands typhoons up to levels 15–18.
- Anti-Corrosion Surface: Anodized layer ≥15–20μm prevents rusting for 30+ years.
- Strong Load Capacity: Handles snow ≥1.6kN/m² and wind speeds ≥60m/s.
- System Stability: Precisely matched parts improve system stability and longevity.
- Certified Fasteners: Meets DIN, ANSI, ISO, JIS standards; no seizing or stripping.
- Easy Installation: Simplified structure reduces labor costs and installation time.
If there is even a slight mismatch between the goods and the order, we guarantee full compensation.
Why not start a business with us?
Contact us to get more information.
- Mail: sales@szbilateral.com
- Phone/WhatsApp: 13451556833
- Website: szbolts.com


